In this article we will attempt install Windows XP on QEMU rpi4.
I use:
- Raspberry Pi 4
- Raspbian 10 buster as host OS
- QEMU version 3.1.0 (Debian 1:3.1+dfsg-8+deb10u8)
- Windows XP SP2 ISO / CD
Make Working Directory
mkdir ~/qemu/winxp directory
Create Disk
qemu-img create -f raw winxp.img 10G
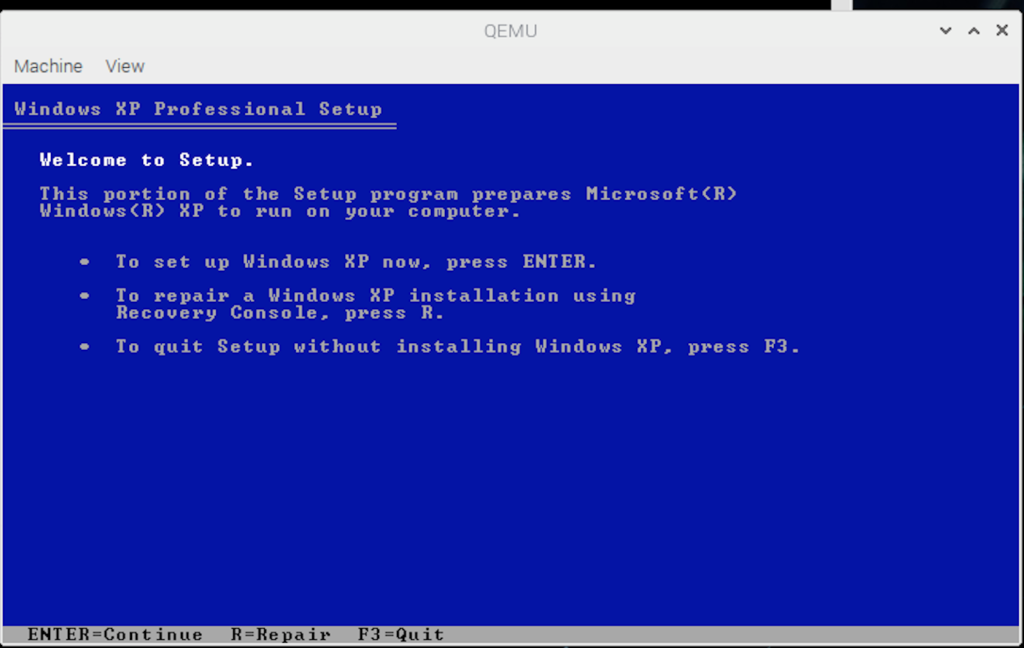
Installation
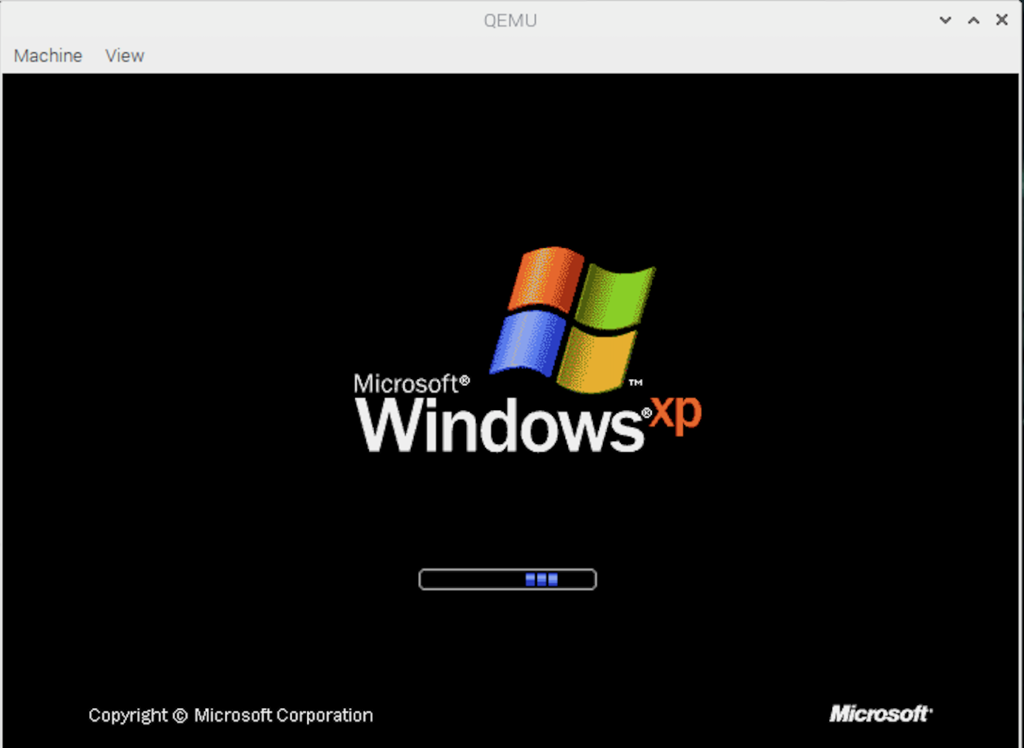
qemu-system-i386 -m 512 -hda winxp.img -cdrom winxpsp2.iso -boot d
Use qemu-system-i386 to boot.
- -m 512: allocate 512 MB of RAM for virtual machine
- -hda WinXP.img: Search for WinXP.img on current directory and use it as hard disk.
- -cdrom winxp_n_sp2.ISO: Use ISO file with filename winxp_n_sp2.ISO on current directory. The name may be vary and you should adjust it with your ISO’s name. If you use installation CD, insert your CD and replace winxp_n_sp2.ISO with /dev/cdrom or whatever your CD device file node is.
- -boot d: instructs QEMU to let the virtual machine boot from the (virtual) CD-ROM drive we’ve specified using -cdrom
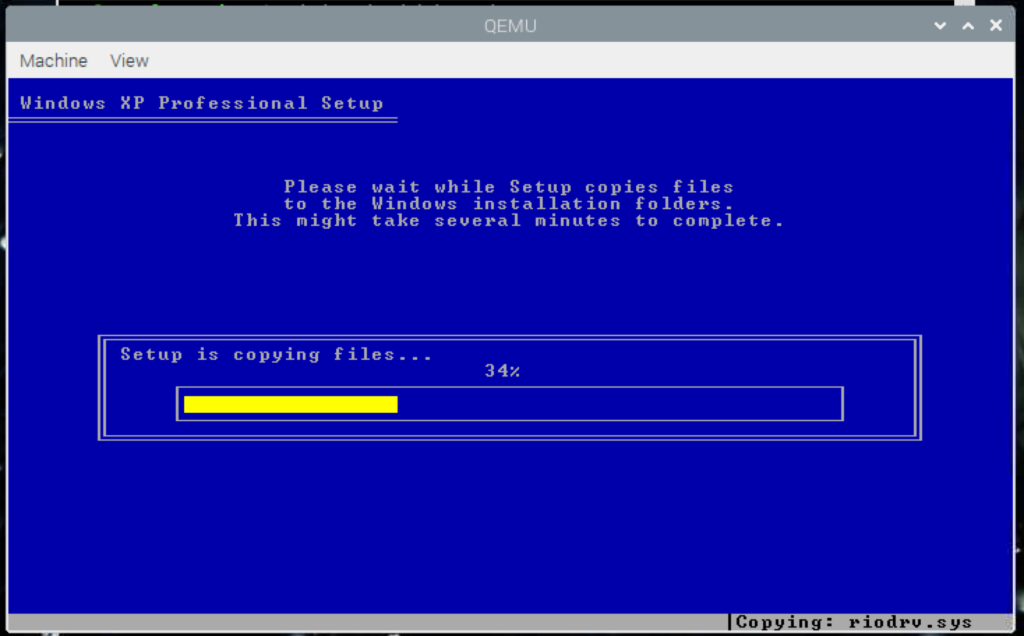
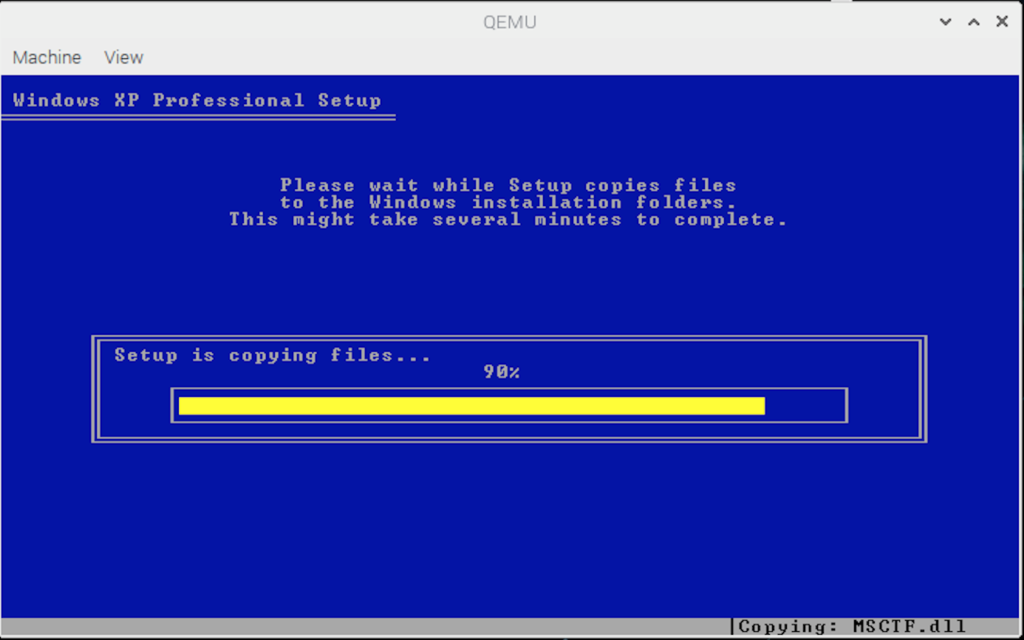
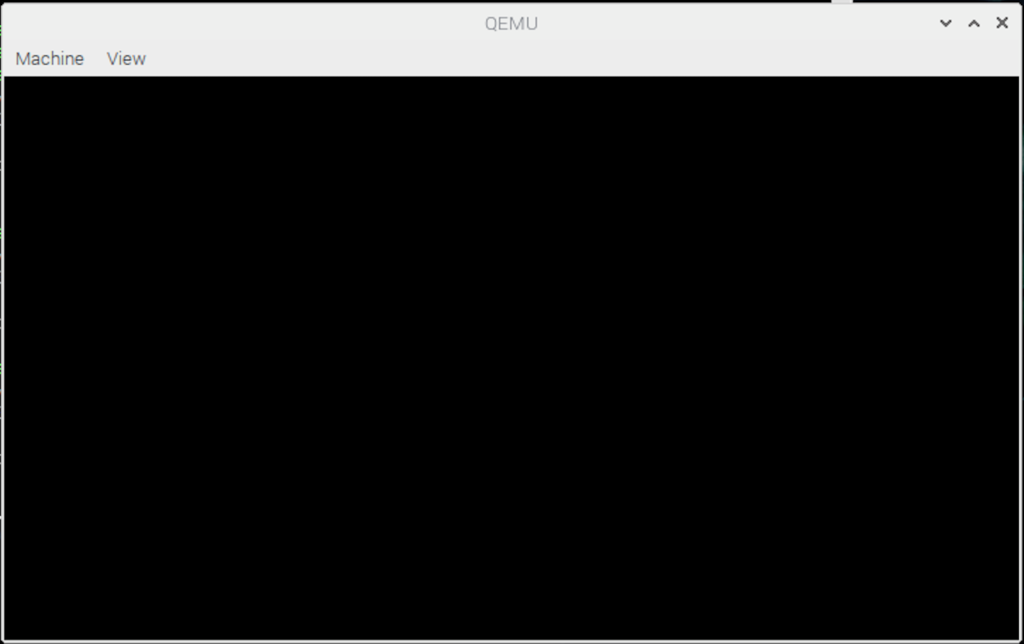
Once the installation finish, you will got a black screen. (Kill the window)
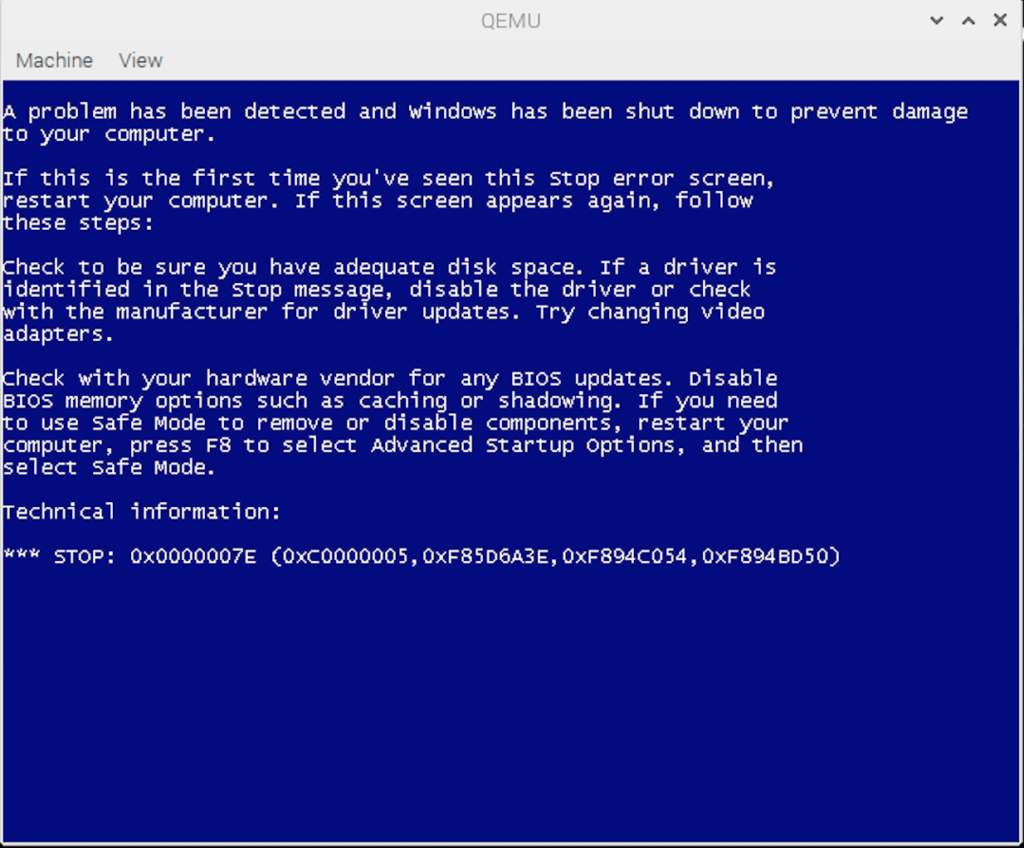
and boot Windows XP:
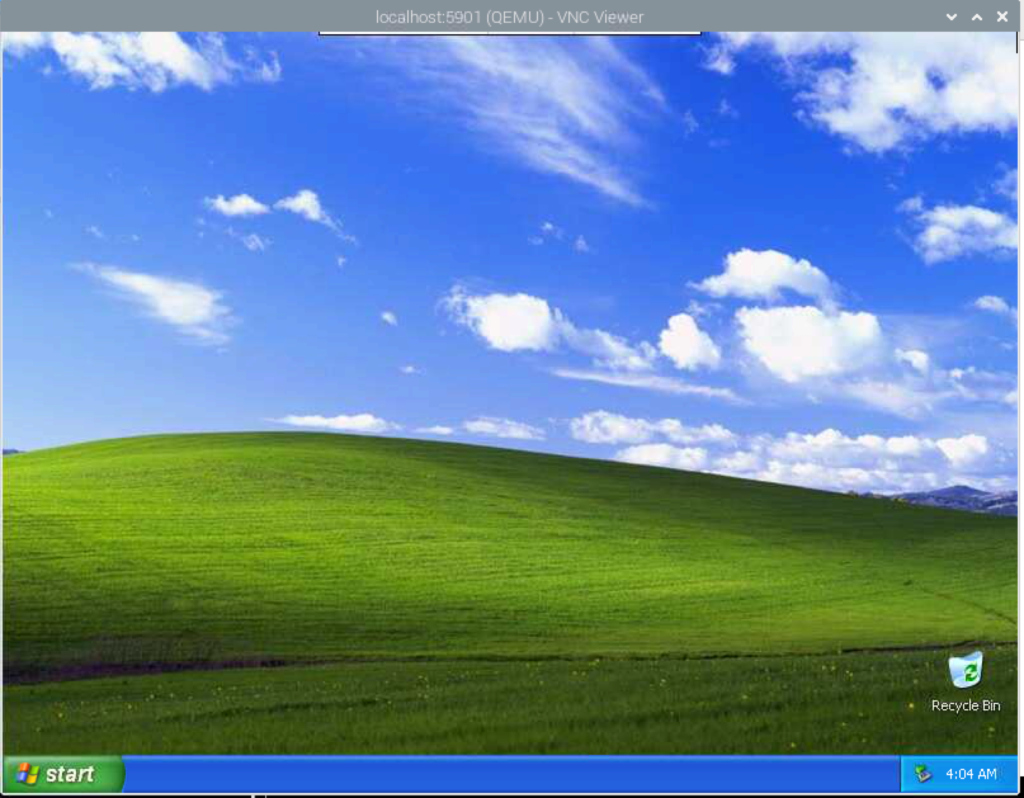
qemu-system-i386 -m 512 -hda winxp.img

and you will get a blue screen :(

 Here are some screenshots
and… not working 🙁
So im going to compile qemu from source code:
sudo apt-get updatesudo apt-get upgrade
sudo apt-get install git libglib2.0-dev libfdt-dev libpixman-1-dev zlib1g-dev git-email libaio-dev libbluetooth-dev libbrlapi-dev libbz2-dev libcap-dev libcap-ng-dev libcurl4-gnutls-dev libgtk-3-dev libcap-dev libcap-ng-dev libcurl4-gnutls-dev libgtk-3-dev librbd-dev librdmacm-dev libsasl2-dev libsdl1.2-dev libseccomp-dev libsnappy-dev libssh2-1-dev libvde-dev libvdeplug-dev libvte-2.90-dev libxen-dev liblzo2-dev valgrind xfslibs-dev libnfs-dev libiscsi-dev
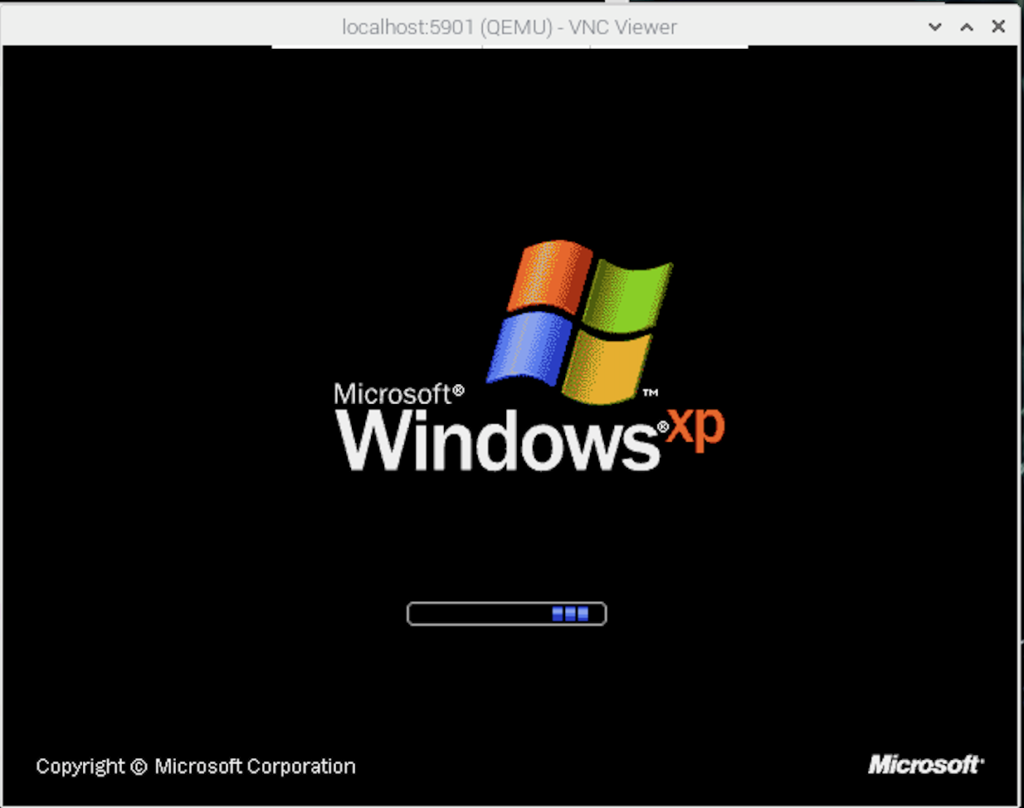
git clone https://git.qemu.org/git/qemu.git
cd qemu
git submodule init
git submodule update --recursive
./configure
make j4
sudo make install

So we are go to go:
qemu-system-i386 --version
QEMU emulator version 5.1.50 (v5.1.0-2217-g57c98ea9ac)
Copyright (c) 2003-2020 Fabrice Bellard and the QEMU Project developers

I pre installed windows xp image, with a windows machine (using qemu 5.1) and then copied that image to the raspberry

(Im lazy to go to all the process again in the rpi4, because is painfully slow)

So cross fingers:
qemu-system-i386 -m 1024 -hda winxp.img -cdrom winxpsp2.iso -boot c
WARNING: Image format was not specified for 'winxp.img' and probing guessed raw.
Automatically detecting the format is dangerous for raw images, write operations on block 0 will be restricted.
Specify the 'raw' format explicitly to remove the restrictions.
VNC server running on ::1:5901

Connect with vnc localhost:5901

and YES! is running very very slow
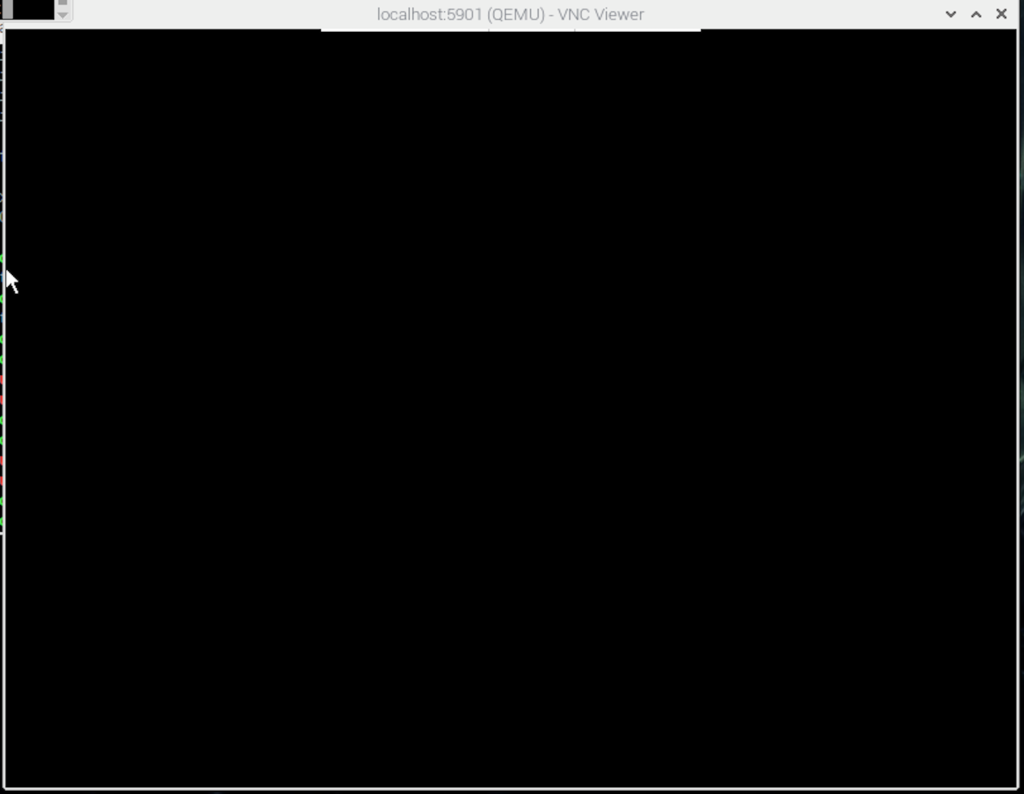
black screen, but with a cursor 🙂 wee!
At last «welcome»


yes it is really slow…
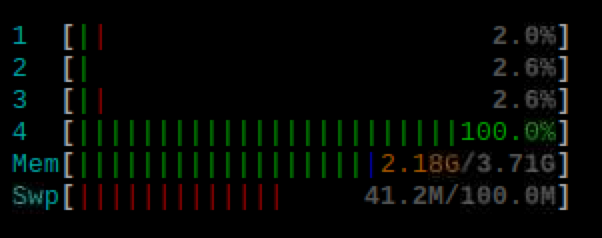
using only one core
I’m going to go to make some coffee…
still in welcome screen…
Yes !
Mouse is really funny.
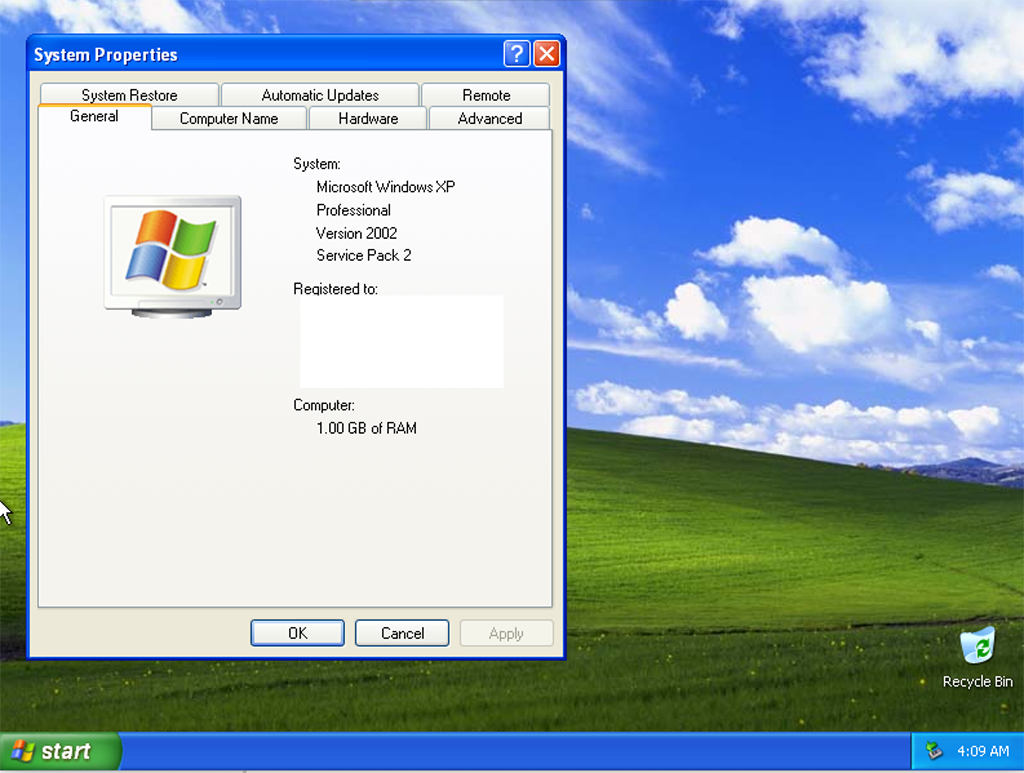
Computer only shows ram but not CPU information that’s funny too
So that’s it, it works, with some tweaking, not really useable, but maybe with some optimizations could run better. But it’s cool for a concept.
The rule for emulation is the cpu has to be 10x faster, in this case than a pentium II (for windows xp). Some in the future this could run really well with some more powerful raspberry pi.
Really cool experiment 🙂 I’m happy with the results.
update with network:
- create a tap interface:
https://blog.yucas.net/2020/10/16/setting-up-qemu-with-a-tap-interface/
qemu-system-i386 -m 1024 -hda winxp.qcow2 -cdrom winxpsp2.iso -boot c -netdev tap,id=mynet0,ifname=tap0,script=no,downscript=no -device e1000,netdev=mynet0,mac=52:55:00:d1:55:01